House plastering is a crucial aspect of home improvement, enhancing both the aesthetics and durability of your walls. Whether you’re renovating an old house or adding a new touch to your space, mastering the art of plastering can significantly elevate the look and feel of your interiors.
Understanding the Basics of Plastering
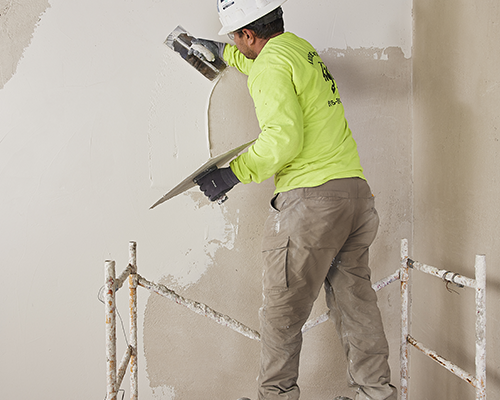
What is Plastering? Plastering is the process of applying a smooth, even layer of plaster mixture onto interior walls and ceilings. It serves to create a uniform surface, covering imperfections and providing a suitable base for painting or wallpapering.
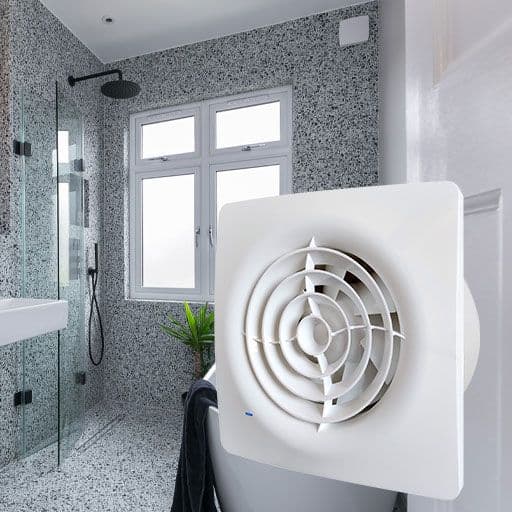
Importance of Proper Plastering Proper plastering not only enhances the visual appeal of your walls but also reinforces their structural integrity. It acts as a protective layer, shielding the underlying surfaces from moisture, cracks, and other forms of damage.
Preparing Your House for Plastering
Cleaning and Clearing the Surfaces Before plastering, ensure that the surfaces are clean, free from dust, debris, and any loose materials. Use a stiff brush or vacuum cleaner to remove any dirt or residues.
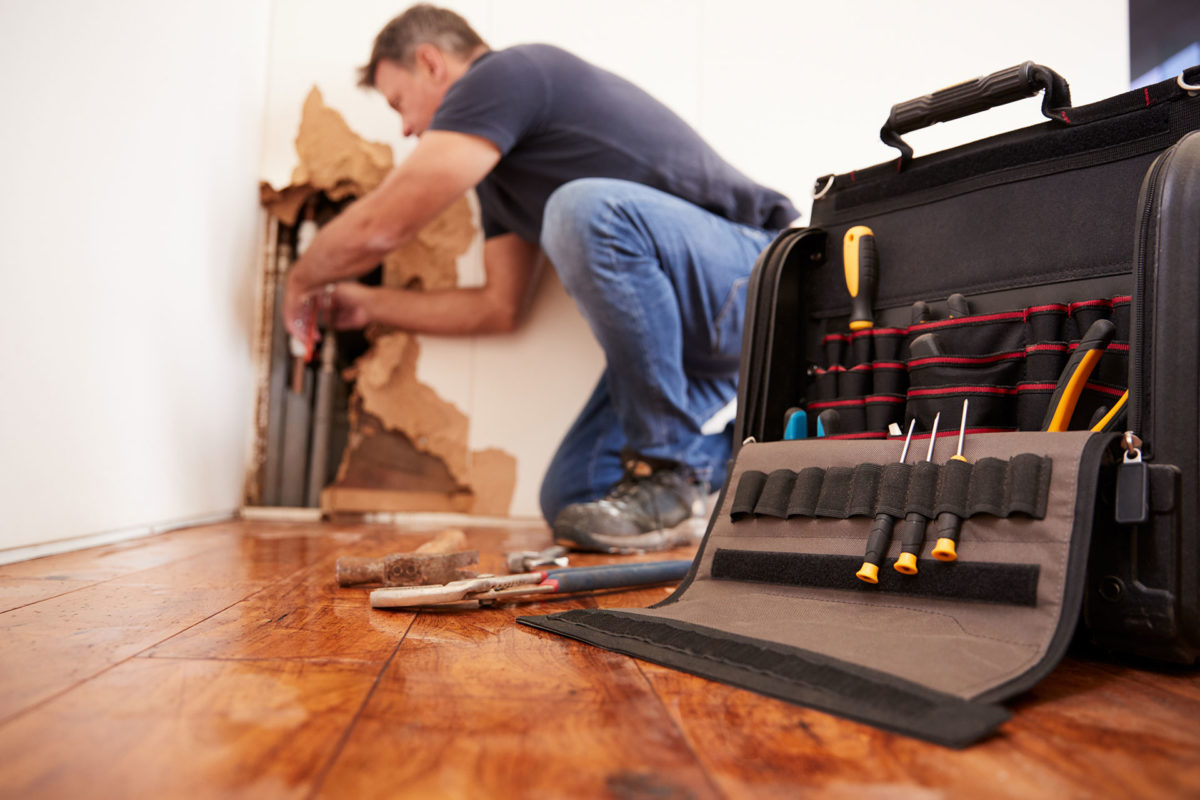
Assessing and Repairing Damages Inspect the walls for cracks, holes, or uneven areas. Patch up any damages using suitable fillers or joint compounds. Ensure that the surfaces are smooth and uniform to achieve a flawless plaster finish.
Gathering Necessary Tools and Materials
Essential Tools for Plastering Some essential tools for plastering include trowels, floats, mixing buckets, plastering hawk, plastering sponge, and sandpaper. Additionally, you may need protective gear such as gloves and goggles.
Types of Plaster Materials There are various types of plaster materials available, including traditional lime plaster, gypsum plaster, and cement plaster. Choose the appropriate type based on your specific requirements and preferences.
Applying Plaster to Your Walls
Mixing Plaster Properly Follow the manufacturer’s instructions to prepare the plaster mixture. Use clean water and mix it to the desired consistency, ensuring a smooth and lump-free blend.
Techniques for Applying Plaster Start by applying a thin coat of plaster onto the surface using a trowel or hawk. Work in small sections, spreading the plaster evenly and smoothly. Build up additional layers as needed, maintaining a consistent thickness throughout.
Smoothing and Leveling the Plaster Surface
Using Trowels and Floats Once the plaster is applied, use a trowel to flatten and smooth the surface. Gradually work your way across the wall, using gentle strokes to achieve a level finish. For larger areas, a plastering float can help in spreading and leveling the plaster effectively.
Achieving a Uniform Finish Pay attention to details and ensure that the plaster surface is uniform and free from any bumps or ridges. Smooth out any imperfections by lightly dampening the surface and using a wet sponge or trowel to blend them in.
Allowing for Proper Drying Time
Importance of Drying in Plastering Proper drying is crucial for the success of your plastering project. It allows the plaster to set and harden, ensuring a durable and long-lasting finish. Rushing the drying process can lead to cracks and other defects in the plaster.
Factors Affecting Drying Time The drying time of plaster depends on various factors, including humidity levels, temperature, and the type of plaster used. Allow sufficient time for drying, typically ranging from 24 to 48 hours, before proceeding with further finishing touches.
Sanding and Finishing Touches
Sanding the Dried Plaster Once the plaster is completely dry, lightly sand the surface to smoothen any rough spots or uneven areas. Use fine-grit sandpaper to achieve a silky smooth finish, being careful not to over-sand and damage the plaster.
Adding Texture or Decorative Finishes Depending on your preferences, you can leave the plaster surface smooth or add texture for a more decorative effect. Experiment with different techniques such as swirls, stippling, or combing to create unique patterns and designs.
Cleaning Up After Plastering
Removing Excess Plaster After completing the plastering work, remove any excess plaster from tools and surfaces promptly. Scrape off dried plaster residues from tools and equipment, ensuring they are clean and ready for future use.
Cleaning Tools and Work Area Thoroughly clean the work area, removing any plaster splatters or spills. Dispose of waste materials responsibly and store unused plaster properly to prevent it from drying out.
Tips for a Successful Plastering Project
Working Efficiently and Safely Plan your plastering project carefully, considering factors such as time, budget, and manpower. Work systematically, tackling one section at a time, and prioritize safety by wearing appropriate protective gear and following best practices.
Troubleshooting Common Issues Be prepared to address common issues such as air bubbles, cracks, or uneven drying. Keep spare materials on hand for quick repairs and seek advice from experienced professionals or online resources if needed.
Understanding Different Types of Plaster Finishes
Smooth Finish A smooth plaster finish is sleek and elegant, perfect for modern interiors. Achieve this look by carefully applying and smoothing the plaster layers, ensuring a flawless surface free from any imperfections.
Textured Finish Textured plaster finishes add depth and character to your walls, offering a rustic or vintage charm. Experiment with different textures and techniques to create visually interesting patterns and designs that complement your overall décor.
Maintaining and Repairing Plaster Over Time
Regular Inspection and Maintenance: Periodically inspect your plastered walls for any signs of wear or damage. Attend to minor repairs promptly to prevent issues from escalating and ensure the longevity of your plaster finish. Additionally, consider consulting interior plasterers in Auckland for professional guidance and assistance in maintaining the quality of your plastered surfaces.
Repairing Cracks and Damages For small cracks or chips, use a suitable filler or patching compound to repair the affected areas. Sand the repaired spots gently and touch up with paint or plaster to blend seamlessly with the surrounding surface.
Hiring a Professional vs. DIY Plastering
Considerations for DIY Plastering While DIY plastering can be a rewarding experience, it requires time, patience, and attention to detail. Assess your skills and capabilities realistically before embarking on a DIY project, and be prepared to invest in quality tools and materials.
When to Seek Professional Help For complex plastering tasks or if you lack the necessary skills and expertise, consider hiring a professional plasterer. They can ensure a high-quality finish, saving you time and effort while guaranteeing superior results.
Conclusion
Mastering the art of plastering is a valuable skill for any homeowner, enabling you to transform your living spaces with confidence and creativity. By following the steps outlined in this guide and paying attention to detail, you can achieve professional-quality plaster finishes that enhance the beauty and durability of your home.


Comments