
How to repair foundation cracks in concrete walls?
Besides hairline cracks and sagging ground, stress cracks larger can occur when a house settles. Although these cracks are not usually dangerous to the house’s structural integrity, they can open up for groundwater, insects, and radon gas.
Step 1: Repair a Foundation Crack With an Epoxy Sealer
A foundation wall had an 8-foot-long crack which allowed water to seep into the basement when it was wet. We used the Liquid Concrete Repair Kit epoxy-injection system by Polygem to permanently repair the crack (about $60).
Each kit includes a 2-part epoxy crack sealer and two 10-oz. Two 10-oz. tubes of Liquid Concrete Repair are included in each kit. Each kit contains enough material to fix a crack measuring 1/16 in. wide x 8 inches deep x 8 feet long
Step 2: Disconnect the Injection Ports
Tap 3-in. (10d) Finish nails placed 12 in apart, starting at the crack. apart. These will be used to align the injection ports and the crack.
Step 3: Combine the Epoxy Sealer
To avoid contamination, open the epoxy crack sealer containers and scoop out equal amounts of Parts A and B. Use two sticks instead. Use a putty knife to mix the parts together on a scrap board. Blend until you get a uniform grey colour.
Step 4: Attach your Injection Port
Apply sealer to the base of one the plastic injection ports. Be careful not to plug its hole. Push the port onto the wall by slipping it over the nail sticking out of the crack. The remaining ports can be installed in the same way.
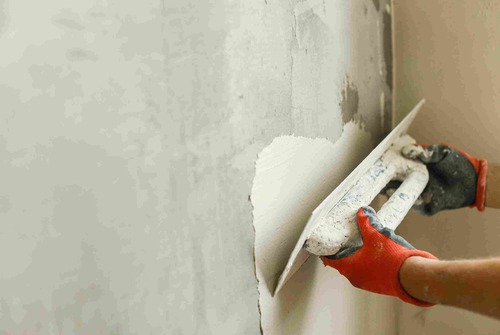
Step 5: Apply sealer along the crack
Mix up another batch of epoxy sealer, and then apply it to cracks using a 1 1/2-inch-wide putty knife (or margin trowel). Apply the sealer approximately 1/8 inch. The sealer should be 1/8 in thick. On either side of crack. Cover each injection port’s entire flange with crack sealer. Only the neck should be visible. Use a mineral spirits-dipped paintbrush to smoothen the sealer edges.
Step 6: Inject the Epoxy in the Crack
If you can access the other side, check if the crack is visible. Seal it with crack sealer if it does. Let the epoxy cure for six to ten hours before injecting it. Use the included plunger rod to mix the LCR epoxy. The LCR cartridge should be placed in a caulk gun. Start at the lowest point and pour the epoxy into the crack. Continue to squeeze the trigger until epoxy starts to ooze from the port above.
Step 7: Seal the Injection Ports
Plug the port that you have just filled with epoxy. To dispense the epoxy, insert the cartridge tip in the port that is leaking. You can continue this process for all remaining ports. Plug each one first before you move on to the next.
Step 8: Remove the Injection Ports
Let the LCR cure for five days before you cut the necks of ports with a hacksaw. You can repair the ports by using a little crack sealer if you wish.


Comments