How To Fix A Leaking Shower
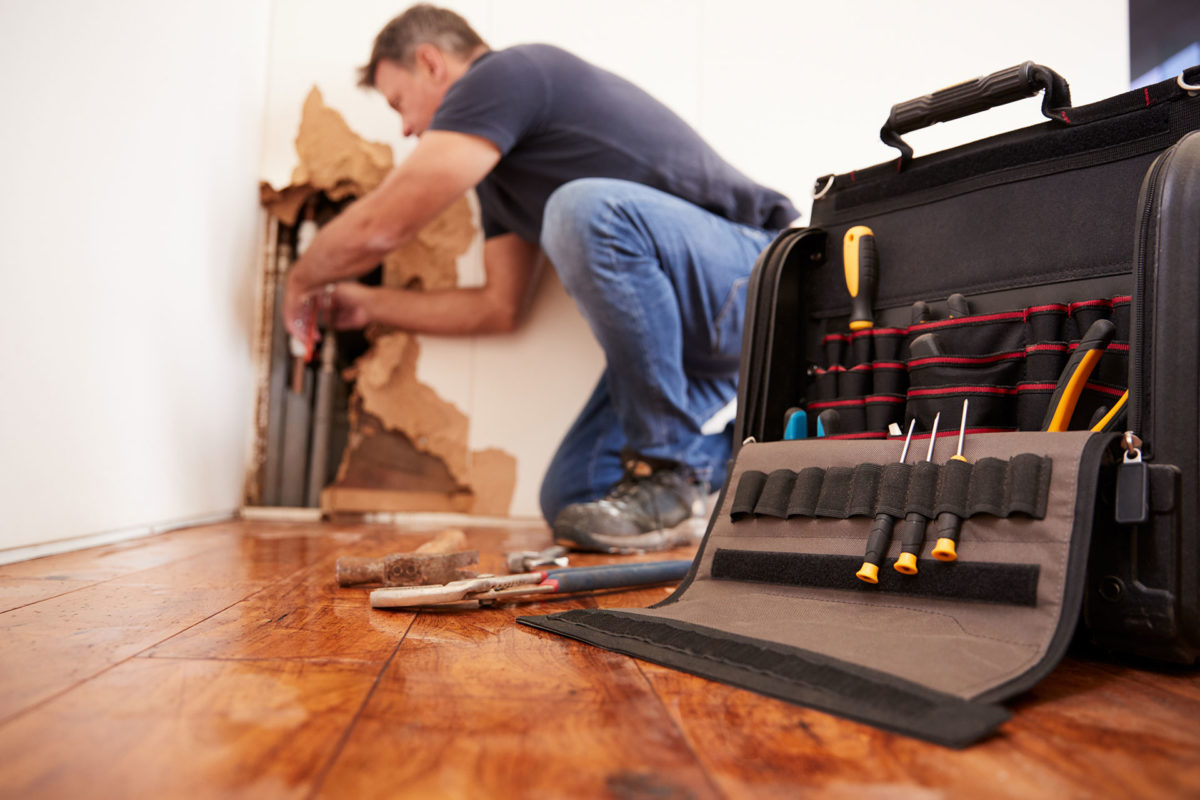
We always recommend that you hire a professional plumber to handle any plumbing problem. You could cause further problems or damage to your bathroom if you don’t.
First, you should consider the age of your existing shower. It may not be worth fixing if you have had it for a while. Older showers that have been used a lot are more likely to develop problems such as leaks. It may not cost as much as you thought to replace your shower.
You’ll then need to determine which part of the shower is leaking. Most of the time, you’ll find it in either:
- The shower head
- The valve
You can jump directly to the instructions for each leak by clicking on the links.
Do Not Do Anything Without First Consulting Your Doctor
You will first need to shut off your hot and cold water supplies. This is done by turning the stop tap near your boiler or pressing a switch. Run your taps to the point where no water comes out.
There are many types of showers that can develop faults over time. Different parts of the shower can also leak. This article will examine the exposed mixing valve shower, which is one of the most common types. We recommend consulting a trade professional if you have another type of shower that has begun to leak.
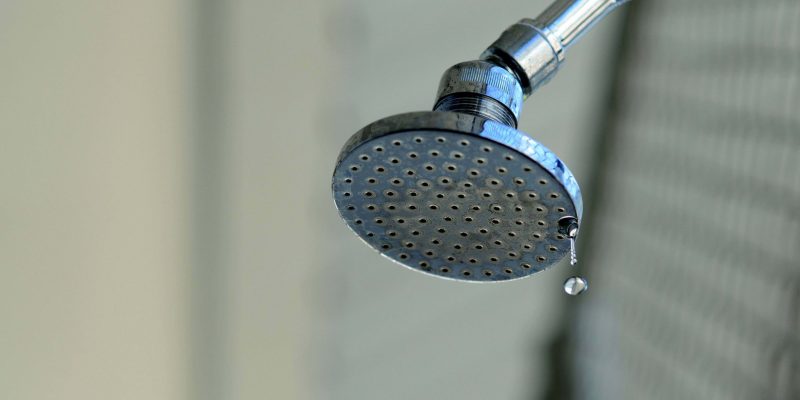
How To Fix A Leaky Shower Head
It should be easier to fix a leak that is coming from your Shower Head than if it comes from any other part of your shower. Follow these simple instructions.
1. Shower head cleaning
Over time, dirt particles and limescale buildup can cause a poor flow and blockages, as well as leaks. After soaking your shower head for a few minutes in a solution of vinegar and water, remove it and rinse clean. Use an old toothbrush. Don’t use your partner’s! Scrub the shower head well. This guide will show you how to clean your shower head in detail.
2. Tape is used to secure the O-ring
Check the O-ring (also called a washer). This small rubber ring prevents water from leaking out of the joint between the shower head and hose. It’s worth replacing if it appears damaged or worn.
It may be worthwhile to add some adhesive tape on the threads at the end of your pipe stem if the O-ring is in good condition. This will help form a waterproof seal and prevent threads from seizing.
3. Reattach the shower head to the water supply and turn it back on
Reattach your shower head and tighten it by hand until you feel comfortable. Then, you can tighten the shower head further with your pliers. Check that the water is flowing smoothly. Then turn the water off, and ensure there are no more leaks. This should solve your problem.
If you still have problems, you may want to replace your shower head and hose. We offers a variety of Shower Heads for every type of shower.
What You Will Need To Repair A Leaking Shower Head
- Cleaning Solution
- Pliers
- Thread Seal Tape
You Might Also Need
- Replacement washer
Duration
- 15 Minutes
How To Fix A Leaky Shower Valve
If you suspect that the problem is with your Shower Valve it may be more difficult to solve.
1. Take the valve apart
Remove the handle of the valve, ensuring that your water has been turned off at the mains. A screwdriver will easily remove the screw. You can then remove the trim or any plates that cover the valve. The gasket should be revealed (usually a rubber band).
2. Gaskets can be replaced with putty
Check the gasket to see if it is damaged or broken. You can fix the leak by using plumber’s putty to replace the gasket. This will form a seal that is waterproof.
3. Replace washers
Find the shower stem. The valve is located where the hose or the pipe connects. The cover should be removable. Remove all washers from the shower stem (small rubber rings). It is quicker and easier to do this than replace, test and repeat the entire process.
If you find any damage to the shower stem, this could also be the source of the leak.
4. Reassemble the valve
Clean the exposed pipes with a solution of water and white vinegar before reassembling the valve.
After you’ve done this, switch on your shower and turn the water back on. You should no longer have any leaks.
Otherwise, you will have to replace your shower. We offers a wide range of showers at low prices, including brands such as Mira Shows, Grohe, Aqualisa, Gainsborough, and many more. If you’re in a rush and need to replace your shower, we offer next-day delivery.
Materials And Tools You Will Need To Repair A Leaking Shower Valve
- Cleaning Solution
- Pliers
- Plumber’s putty
- Replace washers
- Standard Screwdrivers
- Thread Seal Tape
You Might Also Need
- Replacement washer
Duration
- 15 Minutes
How To Replace A Leaky Shower
It may be necessary to replace your shower if none of the above fixes solves your leaky problem.
It’s important to note that replacing a broken shower is more difficult than simply trying to repair a leaky one. Showers come in many varieties and the installation may vary from one model to another. We highly recommend that you hire a plumber with experience to install your shower.
Below are the steps you will need to follow to replace a shower that is leaking. The steps below explain how to replace a mixer shower that is exposed with a similar model.
1. Showers that leak or are old can be removed
Dismantle your shower as described above after you have turned off the mains water. You will need to use a tube cutter or mini hacksaw to remove the valve completely.
2. Install your new shower
Remove your new shower from its packaging and place it over the exposed pipes. The valve should be pushed into the pipes firmly.
3. Solder valve joints
Solder around each joint to ensure that the connection between the copper pipe and the valve is watertight. When soldering, follow all safety instructions.
After completing the process, allow at least 30 minutes for cooling down.
4. Install the rest of the shower
Fit the cartridge according to the instructions that came with your shower. Make sure the valve is turned off.
5. Reverse the water flow
Turn the shower valve “on” and test it. Install the remainder of the shower according to the instructions provided if you are satisfied that there are no leaks. This part may require an electric drill.
What You Will Need To Fix A Leaking Shower
- Electric drill
- Mini hacksaw or copper tube cutter
- Soldering iron
- Standard Screwdrivers
Duration
- The 1-2 hour time frame
A Final Word
While repairing or replacing a leaking shower can save you money and time, we recommend that you hire a plumber who is experienced and has been recommended to do the job, especially for leaky shower repair in Auckland. Inexperienced DIYers could cause serious damage to the bathroom and plumbing, which will cost more in the end.
Shop Showers
It’s time for a new shower if your old one has spraying out the last drop of water. We offer a wide range of showers including Mixer Showers, Electric Showers, Digital showers and many more. You can choose from traditional and contemporary designs, with hidden or unconcealed controls. Choose from dual or triple outlet showers to add luxury. Or, find new fittings or accessories such as shower handsets or hoses.


Comments